Kosher

Mini strawberry Pavlovas may be the most brilliant Passover dessert ever

If ever there was a dessert meant for Passover, it's this one: mini strawberry Pavlovas. 

So, what's a Pavlova, anyway?

It's an Australian dessert named for the Russian ballerina Anna Pavlova (so the story goes), following one of her tours through Australia. Traditionally it's a large, thick meringue disk – hard and crisp on the outside, soft and pillowy on the inside – topped with whipped cream and berries or other fruit. Made this way, it's sliced into wedges to serve. 

Sized individually, mini Pavlovas are just as impressive, not to mention great for entertaining as they're so easy to make and serve. 

Why are mini Pavlovas so brilliant for Passover?

Let me count the ways:

1. There's no flour, making the dessert welcome at the Passover table.

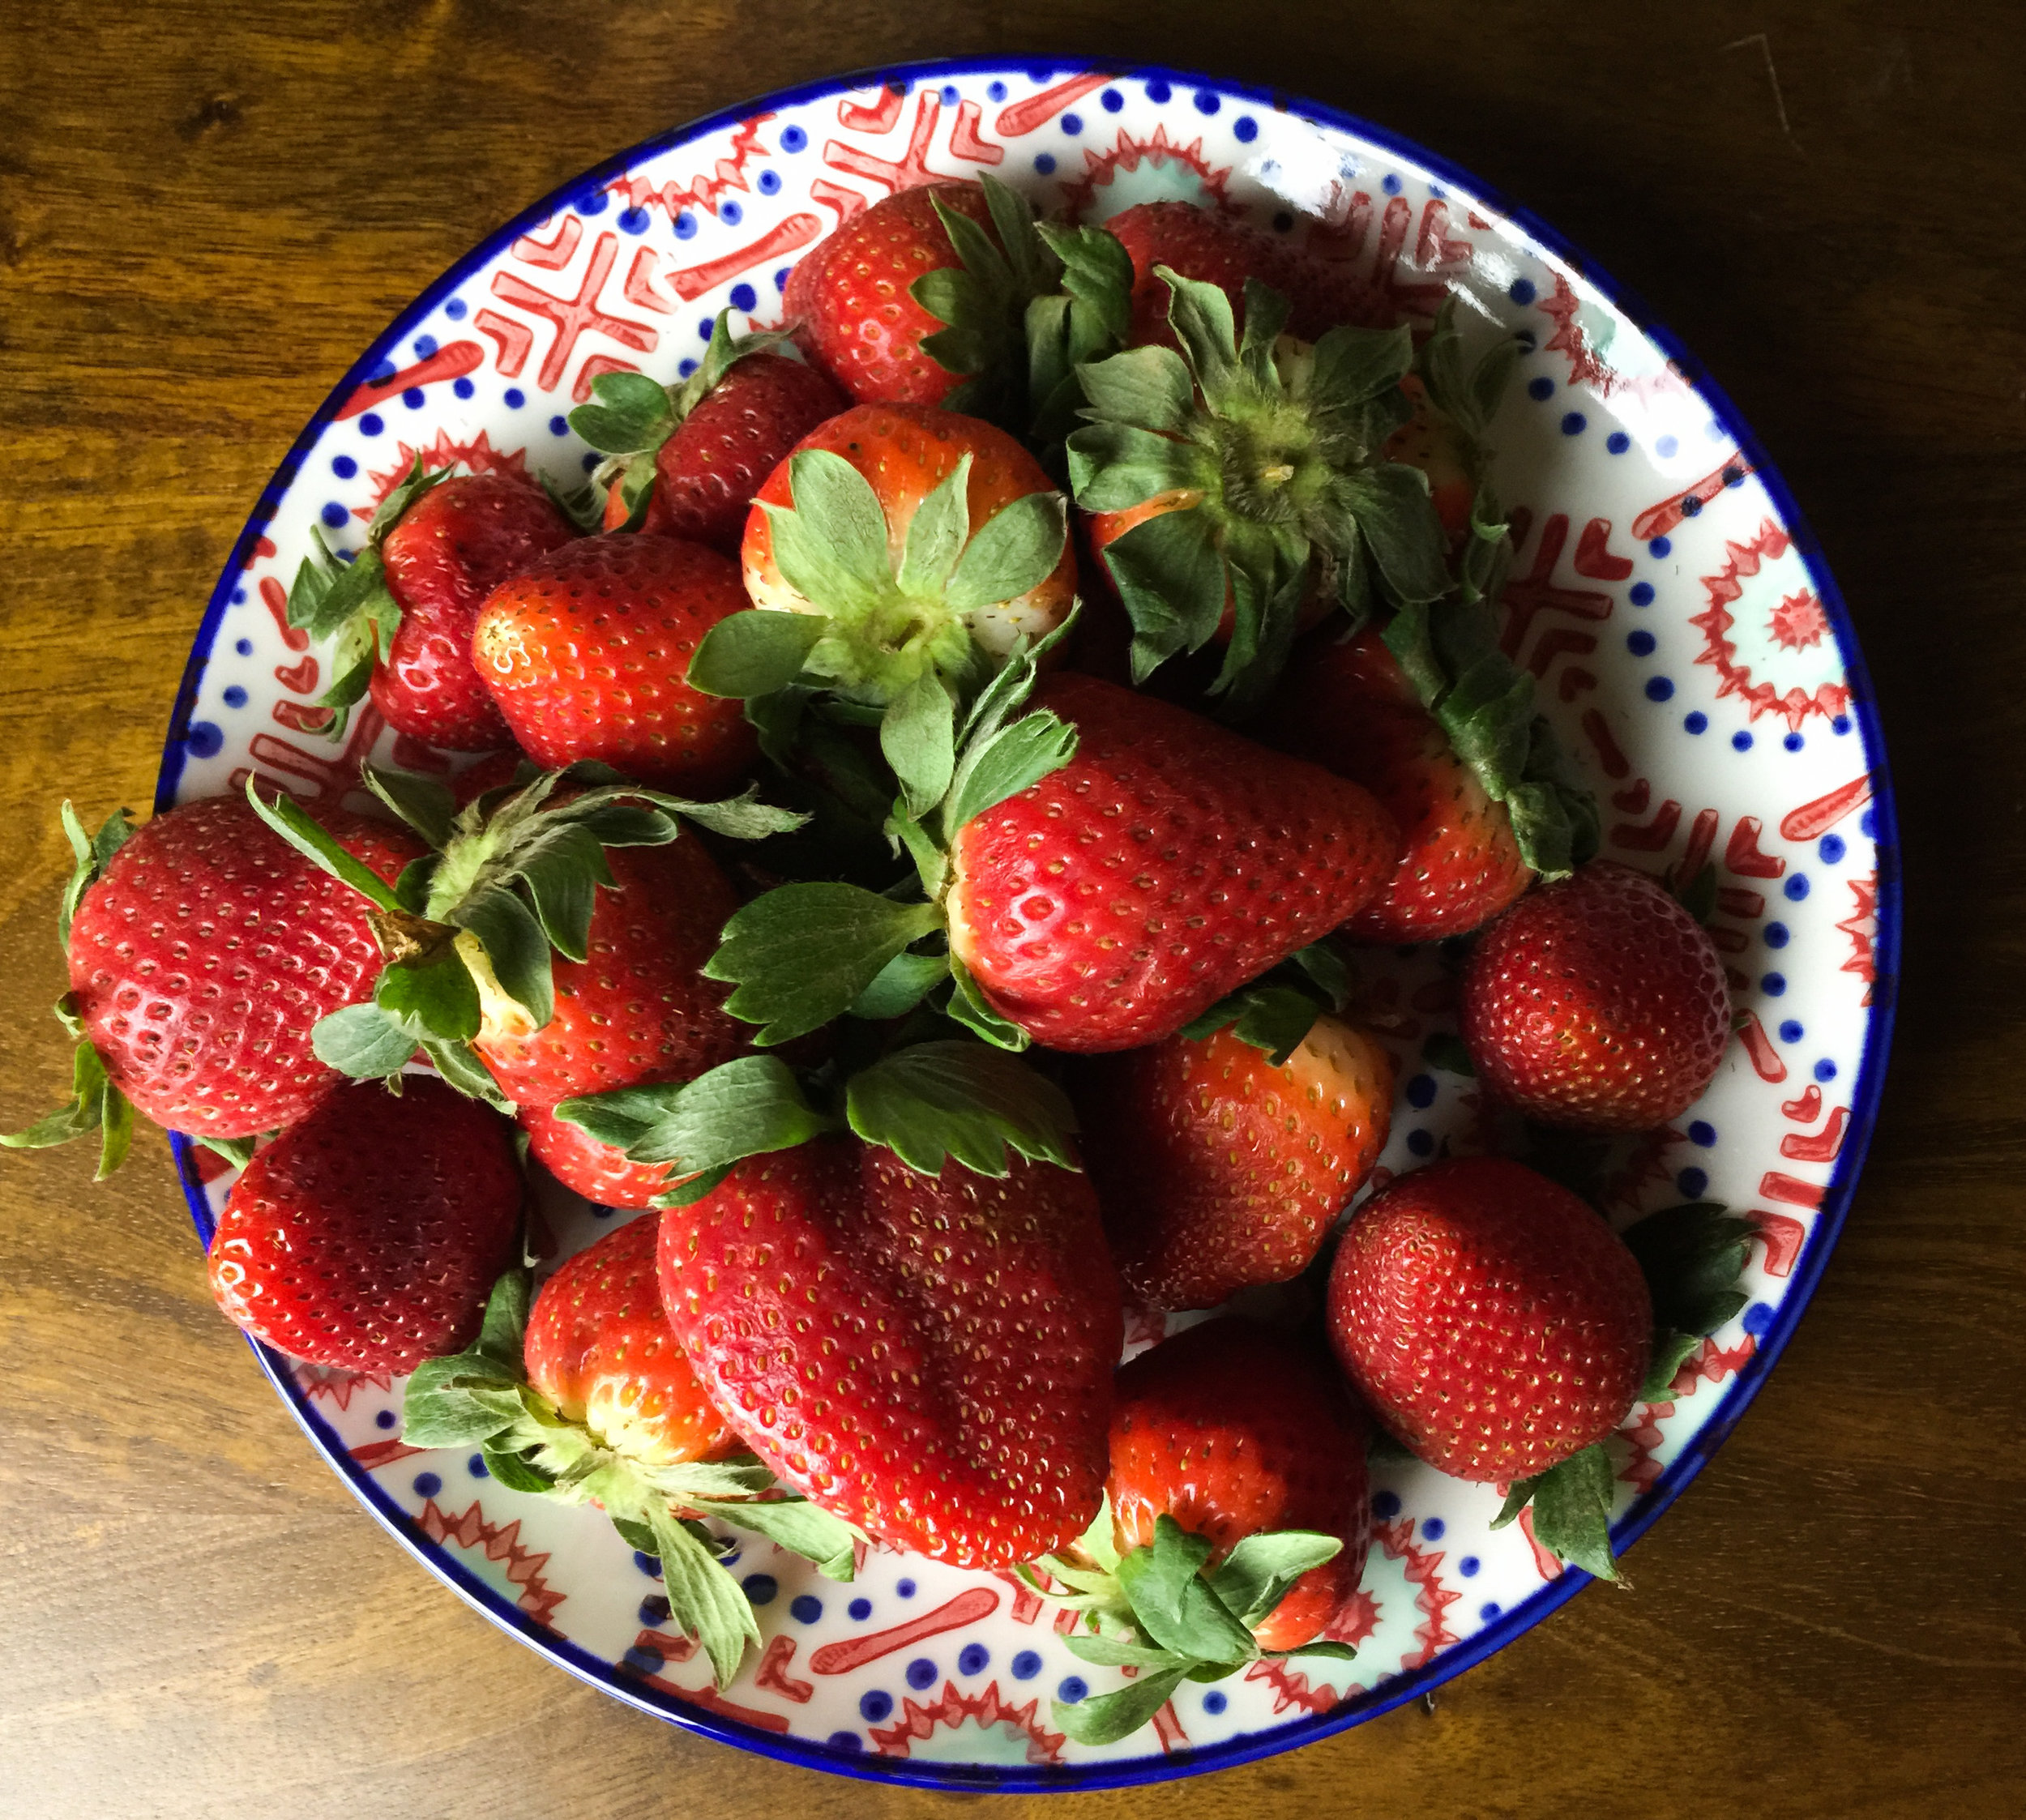
2. They star strawberries, just as the fruit comes into the full flush of its season. 

3. They're beautiful and impressive-looking, yet easy and fool-proof to make.

4. You can make their meringue bases ahead of time – even the day before – and cut and macerate the berries in advance. All that's left to do last-minute is whip cream and assemble the Pavlovas, which is no harder than assembling strawberry shortcake. They're easy enough to manage during the craziness of a seder. 

Pavlovas aren't just for Passover

Pavlovas are having a moment in restaurants – at least here in Dallas, where one of the city's top pastry chefs, Keith Cedotal, is turning out beautiful individually sized versions, filled with citrus mousse and mixed berries, at fashionable Mirador restaurant. 

Besides being chic and delicious, Pavlovas also happen to be gluten-free – just the thing for gluten-intolerant berry lovers who are accustomed to passing up the strawberry shortcake. 

When I say Pavlovas are easy to make, I'm not kidding. All you do is whip up some egg whites, beat in sugar and, if you like, a touch of lemon or orange liqueur. If you want to get fancy, add some lemon zest. Spoon them into messy circles on a parchment-lined baking sheet and bake for less than an hour, till they're light golden and hard to the touch. 

Layer them with whipped cream and strawberries (macerated in a touch of lemon liqueur or orange liqueur if you like), and there you are. If they're messy, or the meringues break that's OK – disheveled is part of their charm. 

Brilliant, right? Here's the recipe:


Hummus fans rejoice: Introducing an amazing, easy cheater version

I lied: I told you this post would be more about gribiche. But we need to interrupt our gribiche coverage to bring you breaking news on the hummus front: Cooks Without Borders has figured out how to make pretty amazing hummus from canned chick peas. 

No joke! 

If you're among those who caught hummus fever as chef Michael Solomonov's recipe for Israeli hummus tore up the internets last fall, or fell in love with Yotam Ottolenghi and Sami Tamimi's recipe in their brilliant cookbook Jerusalem (the excellent cooking blog Food 52 featured it a few years ago), you know how earth-shattering this is.

For those who are just catching up with it, here is the hummus situation in a garbanzo shell: Since time immemorial, creating hummus as smooth and fluffy as what you get in a great Lebanese, Israeli or other middle-Eastern restaurant involved soaking chick peas (aka garbanzo beans) overnight, simmering them for an hour and a half or two hours and removing their skins (can you imagine?!) before puréeing them. Sheesh! The brilliance of Ottolenghi's technique (which he apparently didn't invent, and which Solomonov also uses) is that it uses baking soda during the cooking process to soften the chick peas' skins so they don't need to be removed. 

Home cooks, meanwhile, who want to make a quick, easy hummus that's always at least as good as what you buy in a plastic tub at the supermarket, could simply purée chick peas in the food processor or blender with some garlic, lemon juice, tahini and salt, maybe a little olive oil. A hummus like that is fine, but never killer. It never has that amazing texture and deep flavor that a great one has.

I've been playing for the last few weeks with hummus made the Ottolenghi/Solomonov way, and I'll post about it when I'm ready to draw some conclusions. (There's more hummus to be made and tasted first!) But as I play, I can't help but wonder: Can we use this baking soda trick to radically improve the super-quick and easy version from canned garbanzos?

Yes, we can!

All you do is rinse the canned beans, simmer them for just five minutes in water and a little baking soda, and toss 'em in the food processor with some tahini sauce you've made while the garbanzos simmered. I found it pretty incredible that the skins could be softened enough to make a difference in just five minutes, but there you go. 

Was our cheater version as smooth as hummus made using dried-and-soaked garbanzos you simmer for an hour with baking soda? Well, if not, it was certainly close. It had been a week since I made a more involved one, but Thierry couldn't tell the difference: The cheater hummus was light, fluffy and soft, maybe more velvety than satiny. The flavor was very good, if not as extraordinary as the more involved way. It was terrific enough so that I'll certainly do it again if I'm pressed for time and want hummus. 

Want to try?

OK, toss whole garlic cloves (you can leave their skins on) in the food processor with salt and lemon juice. Purée briefly to chop the garlic, and let the mixture steep 10 minutes while you boil the garbanzos. Strain the solids from the lemon-garlic-salt juice, then put the juice back in the processor. Add tahini, pulse, then slowly pour in ice water through the tube as the motor runs. 

That gives you very light, lovely tahini sauce. Now add the garbanzos plus a little cumin (if you like that flavor), purée a couple minutes till very smooth, plate and garnish with olive oil and paprika – and more, if you like. I usually keep it simple, but you can get creative with parsley, whole garbanzo beans and such. 

Yippeee! Who says cheaters never prosper?

I think I can improve it still further flavor-wise (I'm going to play with adding more tahini, for instance). Once I have the very best version possible of the cheater hummus and the more involved hummus, we'll do a side-by-side taste-test. 

Meanwhile, I wanted to give you this recipe right away as it is very acceptable – way better than the stuff you'd buy in a tub.

Very good indeed with pita toasted or heated in the oven, and crudités. Who says cheaters never prosper?


The Chinese lacquered roast chicken that changed my life

Now and then, a recipe comes along that feels truly life-changing. The short crust pastry for the lemon-raspberry tart I wrote about earlier this week was one for me. It wasn't a new recipe when I discovered it a few years ago – it had been right under my nose in the Chez Panisse Desserts cookbook forever, but it was new to me when my friend Michalene pointed me to it. Today it's my go-to recipe for tart crust.

Now a Chinese lacquered roast chicken has changed my life.

There's nothing more delicious than roast chicken, and every cook should have a favorite recipe for it (at least one!) in his or her repertoire. For years, my go-to roast chicken has been the Judy bird – that is the Zuni Roast Chicken from Judy Rodger's The Zuni Cafe Cookbook. It's the spectacularly flavorful, crisp-skinned chicken you have swooned over if you've ever gone to San Francisco's Zuni Cafe and ordered roast chicken for two. I will write about the Zuni chicken soon here on the blog and give the recipe, but the technique is basically this: Tuck fresh herbs under the chicken's skin, rub it all over with a lot of kosher salt, and let it sit in the fridge like that for one or two days. When you're ready to roast, wipe the chicken dry, heat a skillet on the stove, plop in the chicken, transfer it immediately to a very hot oven, and let it roast. No basting, but you  have to flip the chicken a couple times and fiddle with temperature. It always results in a fabulous bird.

When I don't plan ahead, I've used the Judy technique without the advance salting, and sometimes even without tucking herbs under the skin. It's still always excellent. I thought my abbreviated version was the simplest great roast chicken possible without a rotisserie.

So when I read about author Peter Meehan's roast chicken approach in the new cookbook Lucky Peach Presents 101 Easy Asian Recipes, I sat up and took note. "We are advocates of a hot-and-lazy approach: one high temperature, one pan, one position, one great result." He talked about how seasoning a bird ahead of time and letting it sit uncovered in the fridge lets him have an easy dinner to pop in the oven anytime in the next three days, and now I was really sitting up straight. This man is sensible! When he wrote, "I started doing this after I fell under the spell of Judy Rodger's Zuni Cafe Cookbook," I dropped the book and ran out to buy a chicken. Invoking Judy's name confers instant credibility.

In the Lucky Peach Presents 101 Easy Asian Recipes cookbook, Meehan offers three roast chicken recipes. For me, it was a no-brainer: Lacquered Roast Chicken.

Irresistible, right?

Here's the deal. This is the easiest roast chicken recipe in the universe, and the result is magnificent. 

All you do is this: Paint a chicken with a mixture of half-honey, half soy sauce, then sprinkle it with salt. Let it sit uncovered in the fridge for one or two days, then roast it in a 400 degree F. oven for 50 minutes. That's it. No basting, no flipping, no lowering and raising temperatures. Let it rest 15 minutes, then carve it and here's what you get:

I kid you not. The skin was wonderfully crisp, the meat super-flavorful and both dark meat and white meat were perfectly cooked. The white meat was moist, juicy and delicious as the dark meat. A miracle!  I can't wait to try it again.

Here's the recipe:

Want something smashing this weekend? Pick up a chicken tonight or tomorrow, paint it with lacquer and it'll be ready to pop in the oven Friday or Saturday evening. Or paint a bird with the lacquer on Sunday afternoon and leave it in the fridge so you can roast it for an easy weeknight dinner next week. And please let us know – in a comment here – how you love it!

Meanwhile, I told Michalene about it, and what she said glued me to the ceiling: "Have you tried it on a duck?" Oh, man.

NOTE: I later made the chicken again, and it required ten minutes longer to cook – about an hour total roasting time. When it's done, the skin will be mahogany, and the legs will wiggle freely at the joints "like you could almost tear them off," as Meehan writes. The internal temperature should be 165 degrees F at the thickest part of the breast and where the thigh meets the breast. Also, when you're preparing the bird, don't worry if some of the glaze falls off the bird – it doesn't matter. That's why we have foil lining the pan.