Everyone knows that if you precede something fattening with something purely vegetable, fat-free, gluten-free and crunchy, the fattening thing you eat after that doesn’t count.
Taquería carrots before chicken enchiladas, rice and beans? A zero-calorie equation.
OK, maybe in our dreams.
Still, I’m always looking for something light and refreshing to nibble before an extravagant plate of pappardelle with ragù bolognese, rich and creamy mac-and-cheese or a pizza.

Since I was a kid, I always loved giardiniera — the crunchy, tangy, lightly spicy pickled vegetable condiment that would make cameo appearances in neighborhood Italian restaurants, where small dishes of it would appear on red-and-white checked tableclothes as we waited for our spaghetti and meatballs or pepperoni pizza. That was my favorite way of eating cauliflower back then, and we loved the crunchy corrugated-cut carrots and celery.
In any case, I’ve been on the lookout for jars of good giardiniera at my local Italian grocery lately, and haven’t been delighted by what I’ve found. That’s why I was excited to see a recipe for it in Alex Guarnaschelli’s new book, Cook With Me.
In fact, I’ve now made five recipes from the book, and the giardinera is by far my favorite.
It starts by soaking cut-up vegetables and garlic overnight in salt water, so you need to plan that for the day before you want to start serving it. Then you simmer up a batch of brine — white wine vinegar combined with salt and spices — let it cool slightly and pour it over the soaked-and-drained vegetables.

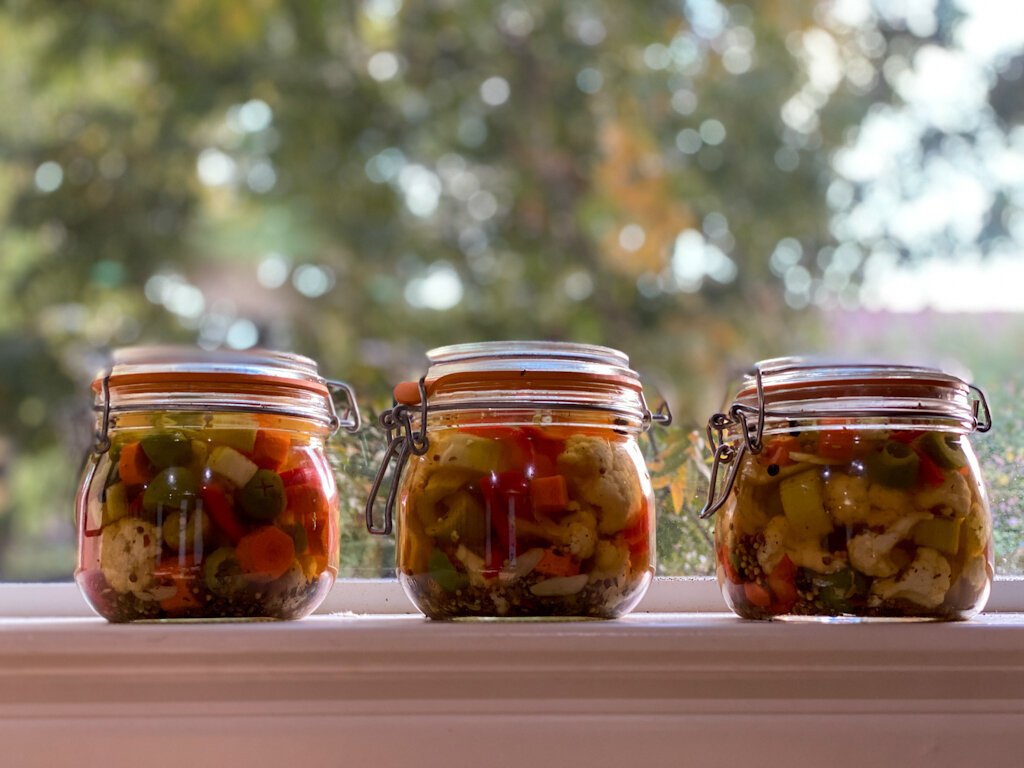
Vegetables for giardiniera mixed with pickling brine
A couple hours later, you have giardiniera.
Guarnaschelli’s original recipe made about 6 pints, which is great if you either give most of it away or sterilize jars for long-term storage.
I like to keep things simple, so I halved her recipe. No need to sterilize; the recipe makes 3 pint-sized jars of pickled veg. For us, that’s perfect for keeping two and giving one away.
And then I’ll make it again very soon — maybe upping the serrano chile or chile flakes a bit, or adding some pepperoncini and bay leaf to the mix.
Till then, you’ll find me happily crunching away.